Containerizing an ML Model - Part 2
Prerequisites
- Conda (miniconda or anaconda)
- Docker
Description
This is the second of a two part post that shows how to containerize an ML model. In the first part Containerizing an ML Model - Part 1, we created the application and tested it. In this part we will take that application and package it up into a Docker container.
A note on flask
When you run flask out of the box it warns you that the bundled web server that it comes with is not meant for production. Therefore we need to add a production ready web server to expose our application. I chose Gunicorn when developing this, but you can use any WSGI application server (others are Waitress and uWSGI). Gunicorn only works on Linux/Unix type operating systems so you can’t use it on Windows. On Windows you can use another WSGI server like Waitress.
Adding Gunicorn
NOTE: This part was done in a Linux environment (Ubuntu). If you don’t have a Linux environment to work with skip this part and use a WSGI server that can run on Windows.
From your spacy environment run conda install gunicorn to install gunicorn.
We then need to add a few files in the same folder where you have saved the flask app ner.py,
- a blank file with the filename
__init__.py - a file called
wsgi.pywith the following content
from ner import app

if __name__ == "__main__":
    app.run(debug=False)
From that same folder test your app by running the following command
gunicorn -w 1 -b :5000 -t 360 wsgi:app
Then you can send a POST request to http://0.0.0.0:5000/entities using the same method as in Part 1.
Export your environment
We need to recreate our conda environment inside the docker container. So the first step is to export the environment we used to develop the api. You can do this using the following command

This will save the environment as a YAML file containing a list of all the packages and their versions. This will be used to recreate the environment when building the container.
Building the container
Create the dockerfile
Next create a text filw called dockerfile with the following contents and place it outside the api folder.
#sets the base image for subsequent instructions
FROM continuumio/miniconda3

#copy files into the container
COPY ./api /api

#set the current working directory
WORKDIR /api

#dowloads the package lists form the repositories and 'updates' them to get incormation on the newsest versions of packages and their dependancies
RUN apt-get update

# update conda
RUN conda update -n base -c defaults conda

# create the environment
RUN conda env create -f environment.yml

# activate spacy environment
RUN echo "source activate spacy" > ~/.bashrc
ENV PATH /opt/conda/envs/spacy/bin:$PATH

# download model
RUN python -m spacy download en_core_web_sm

# run the gunicorn command to start the api in docker
CMD ["gunicorn", "-w", "1", "-b", ":5000", "-t", "360", "wsgi:app"]
Your final folder structure should look like this
├── api
│   ├── environment.yml
│   ├── __init__.py
│   ├── ner.py
│   └── wsgi.py
└── dockerfile
Build
You can do this part on any machine regardless of what packages are being installed as long as you have Docker installed and you have it set to Linux containers (not Windows containers).
Remove the following from the environment.yml file, it should be located at the bottom
- pip:
  - en-core-web-sm==2.2.3
The model will be installed from within the container by the following command in the dockerfile above.
# download model
RUN python -m spacy download en_core_web_sm
Without this step you will get the following error
Pip subprocess error:
ERROR: Could not find a version that satisfies the requirement en-core-web-sm==2.2.3 (from -r />api/condaenv.v5c498fx.requirements.txt (line 1)) (from versions: none)
ERROR: No matching distribution found for en-core-web-sm==2.2.3 (from -r /api/condaenv.v5c498fx.>requirements.txt (line 1))
CondaEnvException: Pip failed
To build the container run the following command from the same location as the dockerfile, -t tags the container image with the name ner

Run
Once complete if you run the docker images command you should see your container image in the local registry.

Run the following command to run your container. It will run the application and expose port 5000 (the port the application is listening on) to port 5001 on your machine.

Test
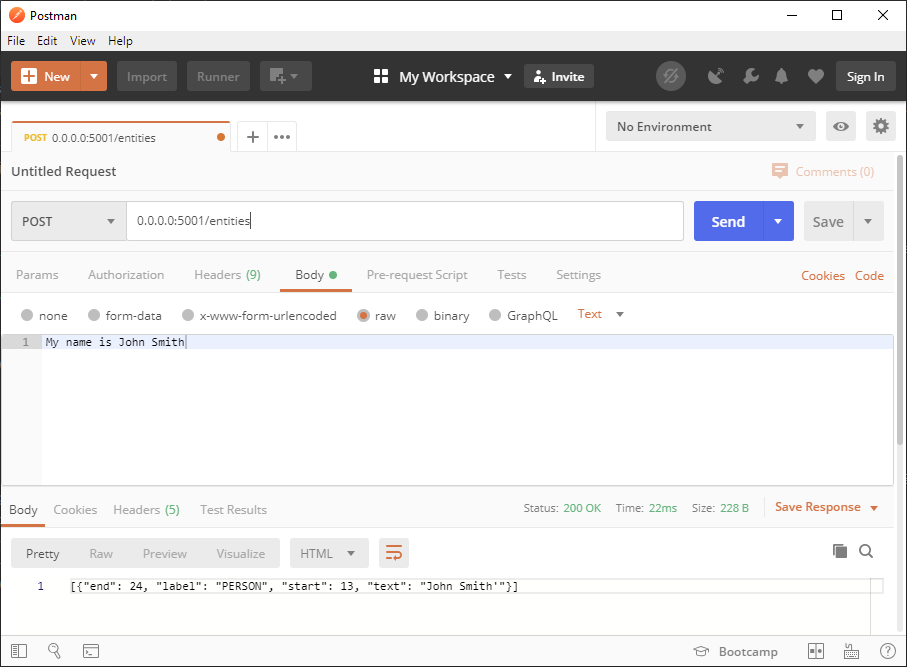
Test it the same way as above by sending a POST request to http://0.0.0.0:5001/entities using the same method as in Part 1.
Sample Code
https://github.com/erotavlas/Containerizing-an-ML-Model
References
Salvatore S. © 2020